How to Clean Before Moving Without Harsh Chemicals
A move can turn one overlooked cabinet, dusty ceiling fan, or cloudy shower door into a last-minute source of stress. Knowing how to clean before moving gives you a practical way to protect your deposit, leave the home in good condition, and avoid bringing unnecessary dirt into your next space. The best approach is not to clean everything at once. Clean in the order that lets each room stay clean as boxes and furniture leave.
For families, pet owners, and anyone sensitive to harsh fumes, moving is also a good time to choose safer products. A clean home should not come at the expense of the people packing it, the pets underfoot, or the environment we all share.
Start Cleaning Before the Last Box Is Packed
The biggest moving-cleaning mistake is waiting until moving day. By then, you are tired, short on time, and likely working around piles of belongings. Begin once you have started sorting and packing, then clean each area as it becomes empty.
Start with rooms and storage spaces you use the least: guest rooms, closets, the garage, the pantry, and cabinets holding extra dishes or seasonal items. Once an area is empty, wipe it down, close the door, and make it a no-storage zone. This creates visible progress and keeps you from cleaning the same surface twice.
Before you begin, review your lease, move-out checklist, or sales agreement. Some property managers have specific expectations for appliances, blinds, floors, and wall marks. A home seller may not face the same requirements as a renter, but leaving a property clean is still a thoughtful handoff to the next household.
Gather Safe, Effective Cleaning Supplies
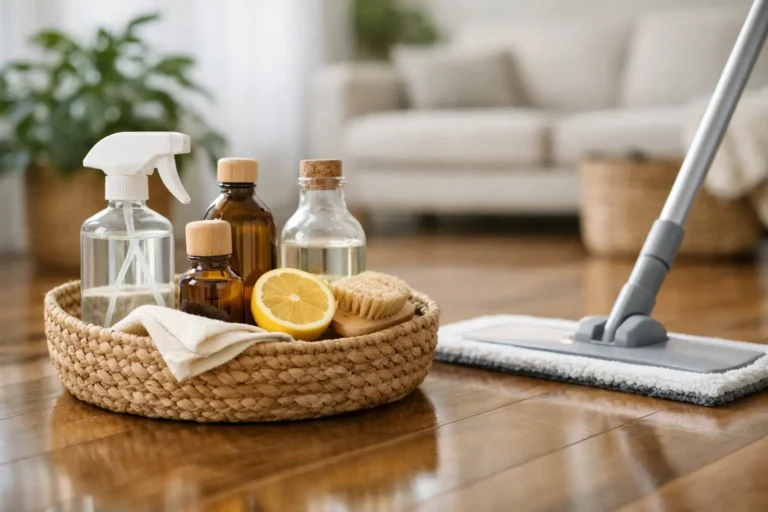
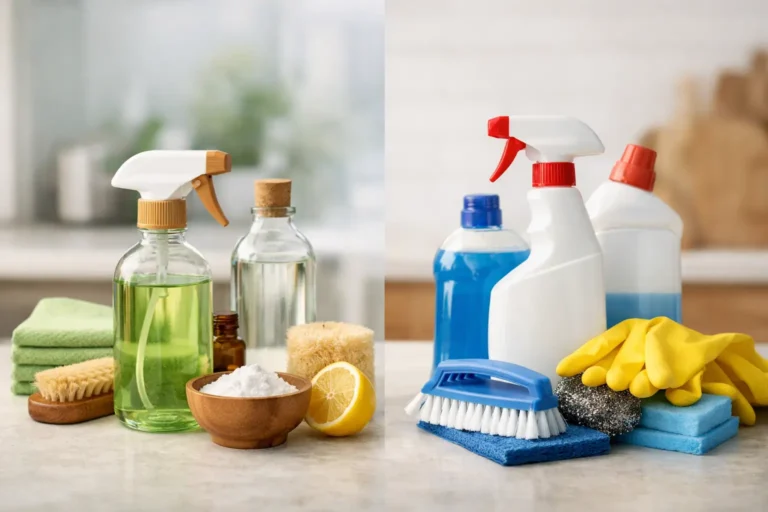
You do not need a cabinet full of aggressive chemicals to get move-out results. A plant-based all-purpose cleaner, glass cleaner, bathroom cleaner, microfiber cloths, a scrub brush, a vacuum with attachments, mop, bucket, and baking soda cover most jobs. For sticky buildup, allow your cleaner time to sit before scrubbing. Dwell time often does more than using a stronger product.
If you are using a disinfectant, choose one appropriate for the surface and follow its label instructions exactly. Cleaning removes soil and residue; disinfecting is a separate step that may be useful for high-touch areas, especially in bathrooms and kitchens. Never mix cleaning products, even common household products, because combinations can create dangerous fumes.
In Albuquerque and surrounding communities, dry air and wind can leave a surprising amount of dust in window tracks, vents, baseboards, and blinds. A vacuum attachment or dry microfiber cloth should come before a damp wipe. Otherwise, dust turns into a muddy film that takes longer to remove.
How to Clean Before Moving, Room by Room
Work from high surfaces to low surfaces and from the farthest point of the room toward the exit. That simple order prevents fresh dust from falling onto an already-clean floor.
Kitchen: Focus on Grease, Crumbs, and Appliances
The kitchen usually needs the most attention because food residue hides in places you do not see during daily cleaning. Empty cabinets and drawers completely. Vacuum or wipe out crumbs first, then clean the interior surfaces and handles. Do not forget the top edges of cabinet doors, which can collect cooking grease and dust.
For the refrigerator, remove shelves and drawers if they are designed to come out, wash them with warm soapy water, and dry them thoroughly before replacing them. Wipe door seals gently, since trapped crumbs and spills can cause odors. If the refrigerator will be unplugged, confirm the move-out instructions, defrost it if needed, and leave the doors slightly open only when appropriate.
Clean the oven according to its manufacturer instructions. A self-cleaning cycle can create strong heat and odors, so it may not be the best choice while you are actively packing or if anyone in the home is sensitive to fumes. For moderate buildup, a non-toxic degreaser and patient scrubbing can be enough. Finish with the stovetop, range hood, sink, faucet, and backsplash.
Bathrooms: Remove Buildup Before It Hardens
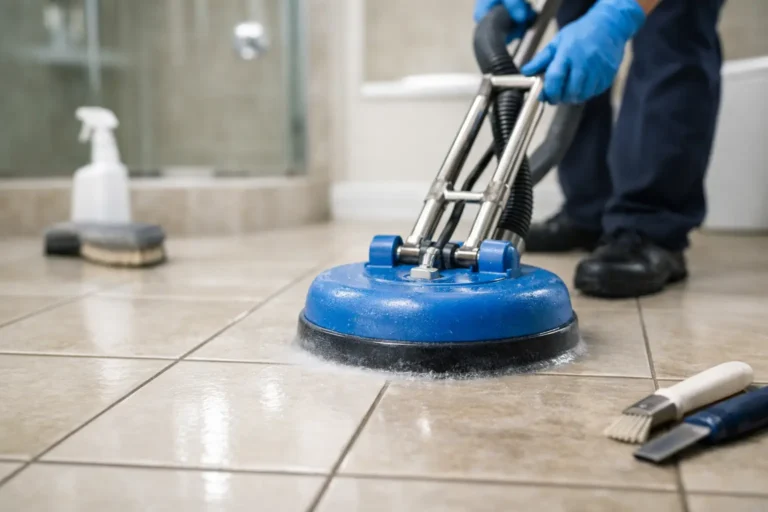
Bathrooms need attention early because soap scum, mineral deposits, and toilet stains become harder to remove over time. Spray the shower, tub, sink, and toilet first, then let the cleaner work while you wipe mirrors, light switches, cabinet fronts, and shelves.
For hard-water marks on faucets or shower glass, a gentle acidic cleaner may help, but test a small hidden area first. Natural stone and some specialty finishes can be damaged by acidic products. Use a soft brush around faucet bases, tub edges, and grout lines, where residue tends to settle.
Wash or replace the shower curtain liner if it belongs to the property, and check the exhaust fan cover for dust. End by cleaning the floor and toilet base, then leave the bathroom door open so the space can dry and air out.
Bedrooms and Living Areas: Look Beyond the Obvious
Empty rooms can reveal how much dust has been hiding behind furniture. Start with ceiling fans, vents, light fixtures, window sills, blinds, and baseboards. Then wipe doors, knobs, switch plates, and closet shelving.
Walls deserve a careful approach. Use a lightly damp microfiber cloth for small scuffs rather than soaking the paint. Magic-eraser-style products can remove marks, but they are mildly abrasive and may dull flat paint, so test first. If a wall needs repainting, check your lease or speak with the property manager before making repairs that could create a mismatched patch.
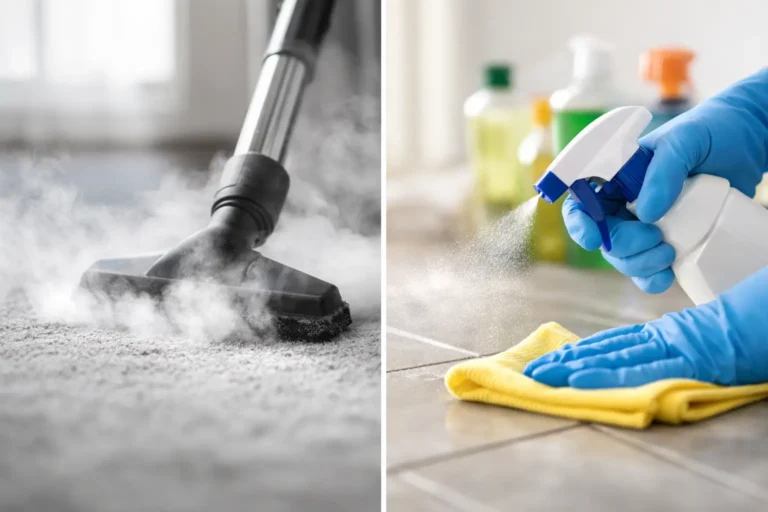
Vacuum carpets slowly, including closet floors and edges along the baseboards. If there are pet odors, deep stains, or heavy traffic patterns, professional carpet cleaning may be worth the cost. It depends on the condition of the carpet and the terms of your rental agreement. For hard floors, vacuum first and use the cleaner recommended for that floor type. Excess water can damage wood and laminate flooring.
Closets, Laundry Areas, and Storage Spaces: Do Not Skip Them
These areas are easy to overlook because they are often empty by the end of a move. They are also the places where landlords and buyers often notice dust, debris, and forgotten belongings. Wipe shelves, rods, ledges, and doors. Check every drawer and cabinet before you leave.
In the laundry area, clean lint from accessible areas around the washer and dryer, wipe appliance exteriors, and inspect the floor beneath them if possible. Do not disconnect gas, water, or vent connections unless you know how to do so safely. A professional can handle difficult appliance moves or cleaning behind equipment.
Garages, patios, and entryways need a final sweep and debris check. Remove pet waste, bag trash, and take any leftover paint, batteries, cleaners, or electronics to the proper local disposal location rather than leaving them behind.
Save Floors and Final Touches for Last
After furniture and boxes are gone, vacuum every room again. This is when you will catch the dust bunnies behind the couch, packing tape scraps, and small items that slipped under a bed. Mop hard floors last, working toward the door so you do not walk across the freshly cleaned surface.
Take photos once each room is empty and clean, especially if you are renting. Photograph appliance interiors, bathrooms, floors, walls, and any pre-existing damage you documented when you moved in. Clear photos can be useful if questions arise about a security deposit.
Before handing over keys, do one slow final walk-through. Open every cabinet and closet, check the refrigerator and dishwasher, look behind doors, and make sure all trash is removed. Turn off lights, close windows, and follow any instructions regarding thermostats or keys.
When Professional Move-Out Cleaning Makes Sense
A professional cleaning team can be especially helpful when your move involves a tight deadline, a larger home, heavy buildup, or competing responsibilities like work, children, pets, and travel. It can also provide relief when you need to focus your energy on settling into a new home instead of scrubbing an old one.
Natures Cleaning Services provides detailed move-in and move-out cleaning with plant-based, non-toxic products for households that do not want to compromise their health for a clean home. Professional help does not replace your responsibility to remove belongings and review lease requirements, but it can make the final stage of moving far more manageable.
Leaving a clean space is more than a line item on a move-out checklist. It is a practical act of care for your finances, your peace of mind, and the people who will soon make the space their own.