How to Clean Bathroom Grout Safely at Home
Soap scum, hard-water minerals, and damp corners can make clean bathroom tile look neglected fast. The good news is that learning how to clean bathroom grout safely does not require filling the room with bleach fumes or using an abrasive cleaner that damages the surface you are trying to protect. With the right method, you can lift everyday buildup while keeping your bathroom healthier for children, pets, guests, and everyone who uses it.
Grout is naturally porous, especially if it is older or has not been sealed recently. That means it holds onto moisture, body-care residue, dirt, and mineral deposits more easily than smooth tile. A safe approach works with that reality: start gently, give the cleaner time to work, and only increase the cleaning strength when the stain calls for it.
Start by Identifying What Is on the Grout
Not all discoloration is the same, and treating every dark line with the strongest cleaner available can create unnecessary risk. White or chalky buildup is often hard-water mineral residue, a common issue in homes with mineral-rich water. Yellowing or dull gray film is more likely soap scum and everyday soil. Pink, orange, or black spots near a shower or tub may point to moisture-related growth.
A quick visual check helps you choose a safer solution. If the grout is simply dingy, a mild cleaner and soft scrub are usually enough. If there is visible mold or persistent staining, the area may need more targeted treatment and better moisture control afterward. Grout that is cracked, crumbling, or deeply stained throughout may need repair or professional restoration rather than repeated aggressive scrubbing.
Gather Safe, Simple Supplies
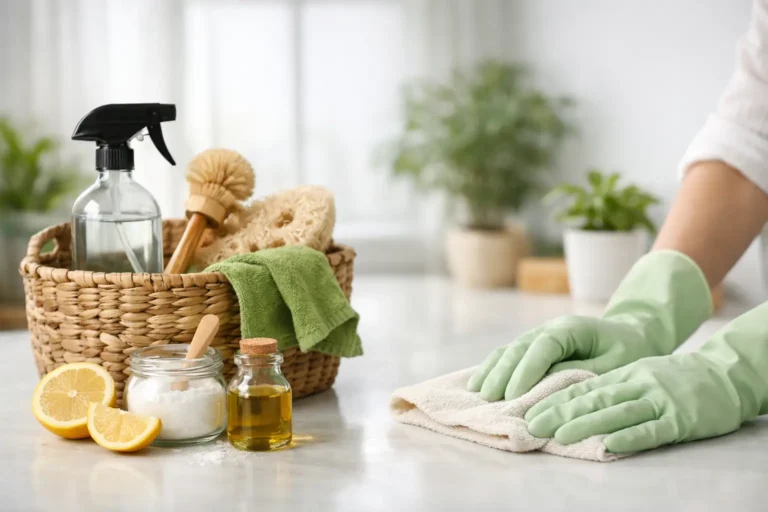
You do not need a crowded cabinet of specialty products for routine grout care. Choose a plant-based, low-toxicity bathroom cleaner that is appropriate for tile and grout, along with warm water, a spray bottle, microfiber cloths, and a soft grout brush or old soft-bristled toothbrush.
For stubborn soap film, baking soda can provide mild scrubbing power when made into a paste with a small amount of water. Hydrogen peroxide can sometimes help brighten light-colored grout, but it should be spot-tested first and used carefully. Never assume that a product labeled natural is automatically safe for every surface. Read the label, follow dilution directions, and test an inconspicuous area before treating the whole floor or shower.
Avoid wire brushes, steel wool, and highly abrasive scouring powders. They can scratch glazed tile, roughen grout, and leave tiny damaged areas where grime can settle more easily. Strong acid-based products can also etch natural stone and weaken cement-based grout.
How to Clean Bathroom Grout Safely, Step by Step
Begin by opening a window or running the bathroom exhaust fan. Even gentler products benefit from fresh airflow, particularly in a small enclosed space. Remove bath mats, bottles, and loose items so you can clean the full area without splashing product onto fabrics or personal-care items.
Vacuum or dry-wipe the tile first. This small step prevents loose hair, dust, and grit from turning into muddy residue when cleaner is applied. Then lightly spray the grout lines with your chosen low-toxicity cleaner. Do not soak the area to the point that water pools in corners or under caulk.
Let the cleaner sit for several minutes according to its label. Dwell time matters because it allows the solution to loosen residue before you scrub. Rushing straight to hard scrubbing is one of the main reasons grout cleaning becomes tiring and unnecessarily rough on tile surfaces.
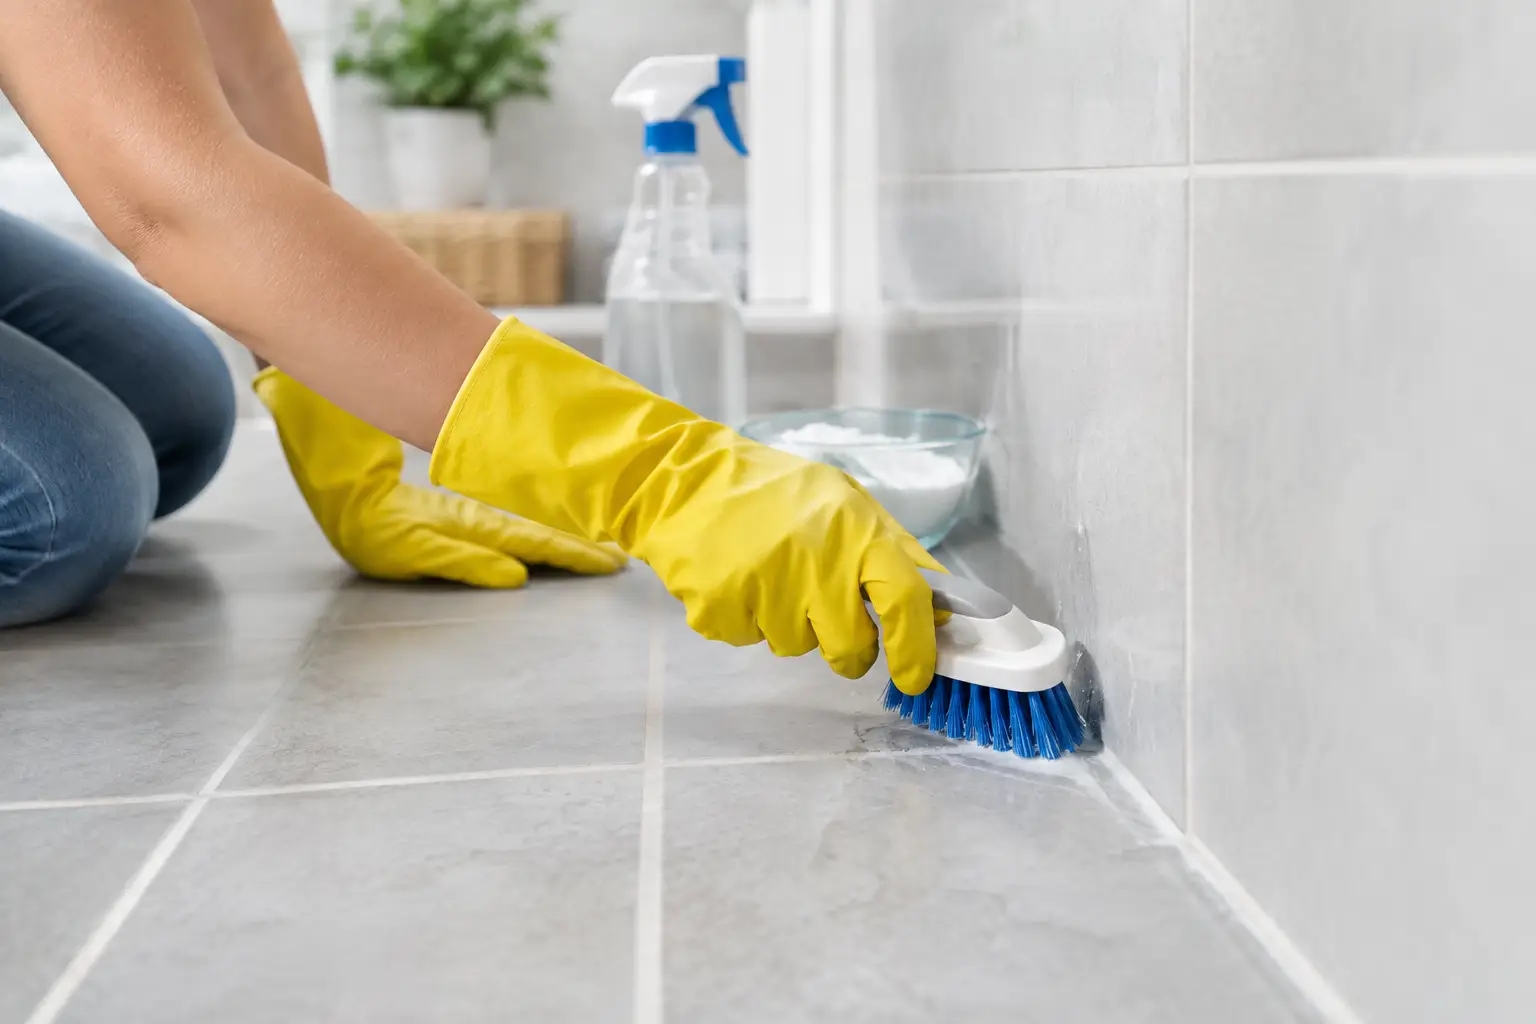
Work in small sections with a soft brush, using short back-and-forth strokes along the grout line. Use steady pressure rather than force. If you are cleaning shower walls, start higher and work downward so dirty runoff does not streak over the sections you have already finished.
Wipe away loosened soil with a damp microfiber cloth, then rinse the area with clean water. Dry the tile and grout with a fresh towel or microfiber cloth. This final drying step is easy to skip, but it helps prevent water spots, reduces lingering moisture, and makes it easier to see whether any stains need a second pass.
For Stubborn Grout Stains
If routine cleaning leaves behind gray or yellowed areas, make a loose baking soda paste and apply it directly to the grout. Let it rest for 10 to 15 minutes, then gently scrub with a soft brush and rinse thoroughly. Baking soda is useful because it adds mild abrasion without the harsh fumes associated with many conventional cleaners.
For light-colored grout with set-in discoloration, hydrogen peroxide may help when used sparingly. Apply a small amount to a hidden test spot first. If there is no change in color or finish after it dries, apply it to the stained grout, allow a short contact time, gently brush, and rinse. This option is best reserved for occasional spot treatment, not frequent whole-bathroom cleaning.
Hard-water deposits can be more complicated. A mild acidic cleaner may help on ceramic or porcelain tile, but it is not appropriate for every bathroom. Never use acidic products on marble, travertine, limestone, or other natural stone unless the product specifically states it is safe for that material. When you are unsure what tile you have, choose a pH-neutral cleaner or ask a cleaning professional before proceeding.
Safety Rules That Protect Your Household
The most serious cleaning mistakes usually happen when products are mixed. Never mix bleach with ammonia, vinegar, acids, hydrogen peroxide, or other cleaners. These combinations can create dangerous fumes or chemical reactions. Even when products are used separately, rinse the surface fully before applying a different one.
Keep cleaning solutions in their original labeled containers and out of reach of children and pets. Wear gloves if your skin is sensitive or if you are cleaning for an extended period. If you use any stronger spot treatment, keep pets and children out of the bathroom until the surface has been rinsed, dried, and the room has aired out.
Bleach is not always the answer to dark grout. It can create strong fumes, irritate eyes and lungs, and fade colored grout or nearby fabrics. It may also make a stain look lighter temporarily without solving the moisture conditions that caused it. For households focused on healthier indoor air, lower-toxicity products and moisture prevention are often the better long-term choice.
Prevent Grout From Getting Dirty Again
A cleaner bathroom is easier to maintain than restore. After showers, run the exhaust fan for at least 20 minutes and leave the door open when practical to help humidity escape. Use a squeegee or microfiber cloth on shower walls and tile once or twice a week. It takes less than a minute and greatly reduces soap and mineral buildup.
Wash bath mats regularly, repair dripping fixtures, and avoid leaving wet towels piled on the floor. These habits limit the moisture that encourages staining around floors, tubs, and shower edges. A light weekly wipe-down with a plant-based bathroom cleaner can keep grout from reaching the deep-clean stage.
Sealing grout is another worthwhile protective step. Most cement-based grout benefits from periodic sealing, though the timing depends on the grout type, shower use, and product instructions. A quality sealer helps resist moisture and stains, but it is not a substitute for regular cleaning. If water no longer beads on the grout or the lines darken quickly after getting wet, it may be time to reseal.
When Professional Grout Cleaning Makes Sense
Some grout problems are more than surface dirt. Deep black staining, recurring growth, cracked grout, failed caulk, or water damage around a shower can signal a ventilation or repair issue. Repeatedly applying cleaner will not fix water getting behind tile or a leak under the floor.
Professional grout cleaning can be especially helpful before a move, after construction, when preparing a property for tenants, or when a busy household has fallen behind on bathroom maintenance. At Natures Cleaning Services, we believe a truly clean bathroom should not come at the expense of your family’s health or New Mexico’s environment. A thoughtful, low-toxicity approach can restore a fresher space while respecting the people and pets who call it home.
The safest grout-cleaning routine is the one you can maintain: gentle products, a little patience, proper drying, and quick attention when moisture starts to linger.