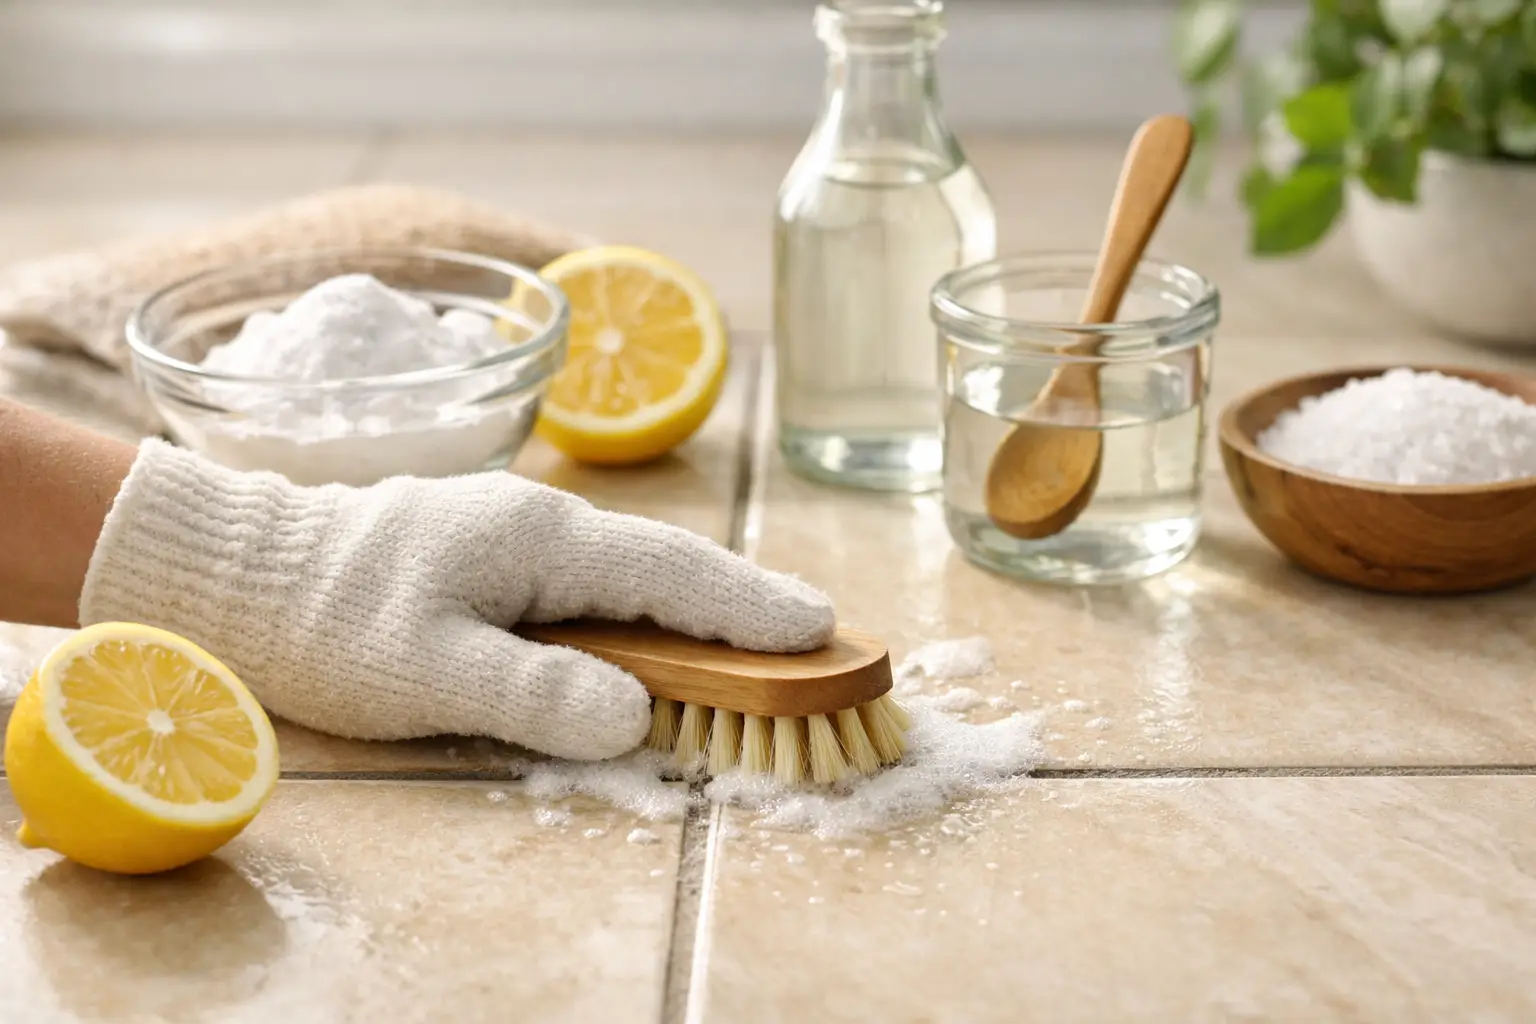
How to Clean Grout Naturally Without Harsh Chemicals
The grout lines around a kitchen floor or shower can make an otherwise clean room look neglected fast. The good news is that learning how to clean grout naturally does not require filling your home with harsh fumes or using products you would rather keep away from children and pets. With the right gentle cleaner, a little dwell time, and a brush, many everyday grout stains can be lifted safely.
Grout is porous, which means it readily absorbs moisture, soil, soap residue, and spills. That is why a quick pass with a mop often leaves the tile looking clean while the lines between tiles stay dark. A thoughtful approach protects your indoor air and your surfaces while restoring the fresh, cared-for look you want in your home or workplace.
Start by Identifying What Is on the Grout
Not every dark grout line needs the same treatment. On bathroom walls and shower floors, the problem is often soap scum, body oils, hard-water minerals, or mildew. Kitchen grout may collect cooking residue and tracked-in dirt. Entryways and commercial floors usually show embedded soil from shoes, carts, and foot traffic.
Look closely before you start. Gray or brown discoloration is usually dirt. A chalky white film points to mineral buildup. Pink or black spotting in a damp shower can be mildew or mold growth. Natural methods are very effective for routine soil and light staining, but deeply set stains or persistent mold may need professional attention, repairs, or grout replacement.
It also helps to know your surface. Most ceramic and porcelain tile can handle the methods below. Natural stone, including marble, travertine, limestone, and slate, needs more caution because acidic products can etch or dull it. When in doubt, test any cleaner in a small, hidden area first.
How to Clean Grout Naturally With Baking Soda
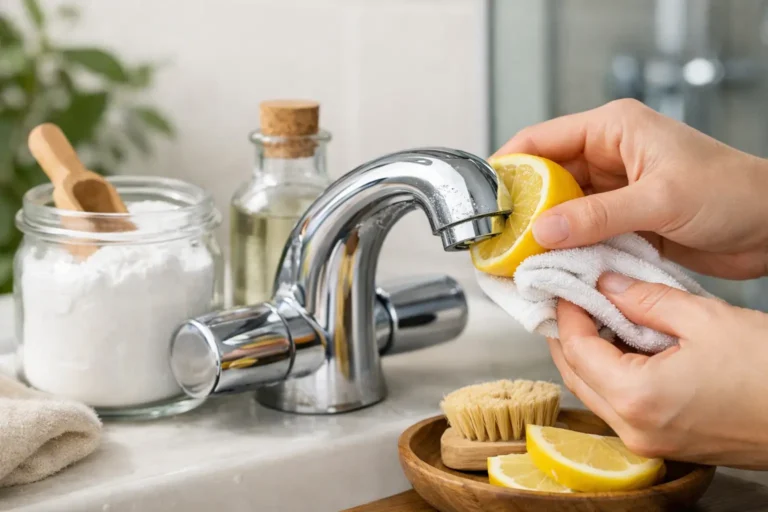
For most routine grout cleaning, baking soda and water are a reliable place to begin. Baking soda provides mild abrasive action without the aggressive grit that can wear down grout over time. It is especially useful for floor grout that looks dingy from everyday traffic.
Mix baking soda with just enough water to make a thick, spreadable paste. Apply it directly along the grout lines with a spoon, an old toothbrush, or a small cleaning brush. Let it sit for 10 to 15 minutes so it can loosen surface soil.
Then scrub with a stiff nylon grout brush using short, controlled strokes. Avoid wire brushes or highly abrasive pads. They can scratch tile glaze and gradually weaken the grout. Wipe up the loosened residue with a damp microfiber cloth, rinse the area with clean water, and dry it with a towel.
For larger floors, work in small sections. This keeps the paste from drying completely before you can scrub it and makes it easier to remove dirty water rather than spreading it back across the tile.
Add Plant-Based Dish Soap for Greasy Grout
If kitchen grout feels sticky or has a yellowish film, add a few drops of plant-based dish soap to your baking soda paste. The soap helps break down oils that baking soda alone may not fully release. Use only a small amount, since too much soap can leave a residue that attracts more dirt.
After scrubbing, rinse more thoroughly than you think you need to. A clean microfiber cloth and fresh water make a meaningful difference here. Leftover cleaner can make grout look dull even when the soil is gone.
Use Vinegar Carefully, Not Automatically
White vinegar is often recommended as a natural grout cleaner, and it can help with hard-water deposits on ceramic or porcelain tile. But it is not the right answer for every surface or every cleaning job.
Vinegar is acidic. Frequent use can slowly break down unsealed cement-based grout, and it should never be used on natural stone. If your grout is old, cracked, crumbly, or unknown, skip vinegar and use the baking soda and water method instead.
For ceramic or porcelain tile with light mineral buildup, mix equal parts white vinegar and water in a spray bottle. Lightly spray the grout, let it sit for no more than five minutes, then scrub gently and rinse well. Do not combine vinegar with bleach, ammonia, or hydrogen peroxide. Mixing cleaning products can create unsafe fumes or reduce their effectiveness.
If the area has been recently cleaned with another product, rinse it thoroughly with water and allow it to dry before using vinegar. A safer cleaning routine is always better than a rushed one.
For Shower Grout, Focus on Moisture Control
A naturally cleaned shower will stay cleaner longer when moisture has less time to settle into grout. After bathing, use a squeegee or dry microfiber cloth on the walls and floor. Run the bathroom fan during showers and for at least 20 minutes afterward, or open a window when weather allows.
For light shower buildup, use the baking soda paste once a week or as needed. If mildew keeps returning, do not simply keep scrubbing harder. Check for a dripping faucet, poor ventilation, damaged caulk, or water getting behind the tile. Cleaning removes what you can see, but the moisture source must be addressed to prevent repeat growth.
Black spotting that spreads quickly, covers a large area, or appears alongside soft drywall, peeling paint, or a musty odor may signal a larger moisture issue. That situation calls for a qualified professional rather than another round of cleaner.
A Gentle Routine for Floor Grout
Floor grout gets dirty because it is lower than the tile surface, where soil and mop water settle. Vacuum or sweep first so grit does not turn into muddy residue once it gets wet. Then mop the tile with a diluted, pH-neutral, plant-based floor cleaner, changing the water when it becomes cloudy.
When grout lines need extra help, spot-clean them with baking soda paste instead of treating the entire floor with a harsh chemical. Scrub, wipe, and rinse each section before moving on. This targeted approach uses less product, protects your flooring, and gives you better control over the results.
For busy homes with pets, children, or frequent guests, a quick weekly floor routine is easier than waiting for heavy buildup. In offices, clinics, schools, and customer-facing spaces, routine floor care also supports a cleaner first impression without relying on chemical-heavy products.
What Natural Grout Cleaning Cannot Fix
Natural cleaning can lift grime, soap film, and many surface stains, but it cannot restore grout that is permanently discolored, cracked, missing, or damaged by years of moisture. Sometimes the grout itself has changed color with age, especially in high-traffic areas or older showers.
If you scrub carefully and the lines still look uneven, consider whether the grout needs to be sealed, recolored, repaired, or professionally deep cleaned. Sealing clean, dry cement-based grout can reduce future staining by limiting how much moisture and soil it absorbs. It is not a substitute for regular care, but it can make maintenance much easier.
Professional cleaning is also a practical choice when the job is large, the stains are deeply embedded, or you simply do not have time to work section by section. Natures Cleaning Services uses eco-conscious practices to help Albuquerque-area homes and workplaces stay thoroughly clean without compromising the health of families, pets, employees, or New Mexico’s natural environment.
Keep Grout Cleaner Between Deep Cleans
The simplest habit is to remove dirt before it settles. Use doormats at entrances, wipe spills promptly, and avoid leaving wet towels or bath mats on tiled floors. In the shower, keep bottles and soap dishes from trapping standing water against the tile.
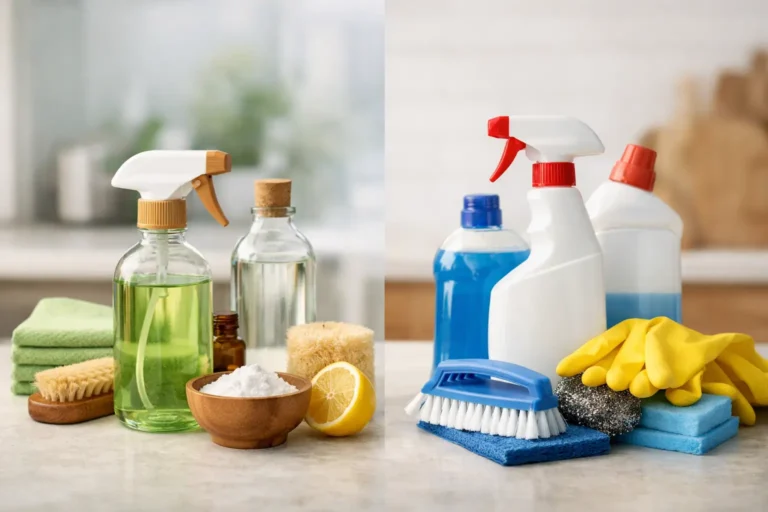
Choose soft brushes, microfiber cloths, and plant-based cleaners for routine care. Save stronger methods for the rare times they are truly needed, and always test new products before treating a visible area. Clean grout is not about chasing a perfectly white line at any cost. It is about creating a healthier, well-kept space with methods that respect the people, pets, and surfaces in it.